Setting Up Your School (Manual)
If you're new to LiteracyPlanet and ready to set up your teachers, classes, and students, you're in the right place!
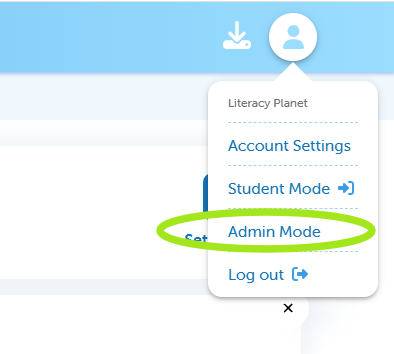
When you first log in, you’ll land on the Teacher Dashboard. To set up your classes, add teacher and students, you’ll need to switch to Admin Mode using the profile dropdown.
Once you've switched to Admin Mode, the first step is to add each class.
Select Manage teacher and add your first teacher once you verify, your teacher will be sent an email to set their password and log in! They won't see a class until you add the class.
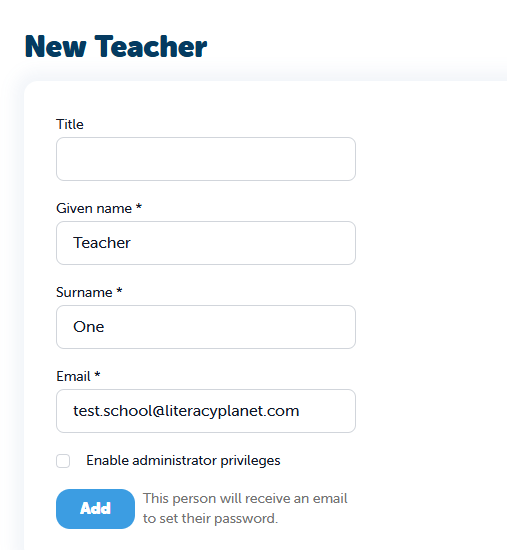
Start by adding your teachers:
- Go to Manage Teachers
- Select Add Teacher
- Enter their details and save
Once added, each teacher will receive an email to set their password and log in.
Note: Teachers won’t see any classes until they’ve been assigned one.
Create Your Classes
Next, set up your classes:
- Go to Manage Classes
- Select New Class
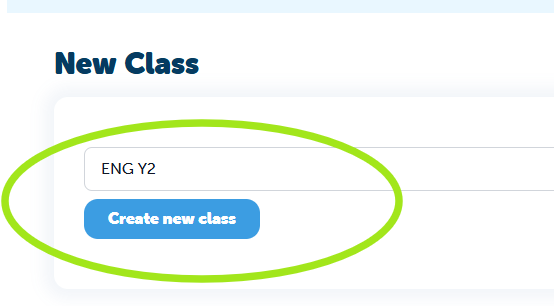
- Enter a class name and create your new class
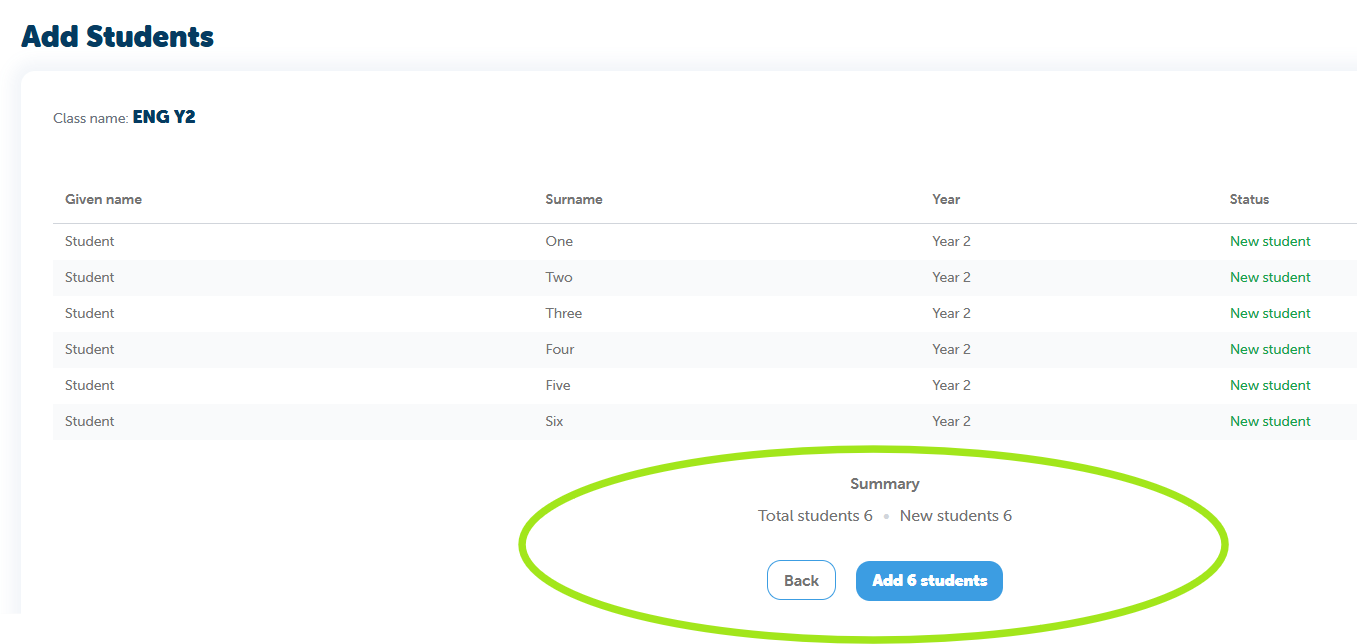
- Next select the year level & enter the student names
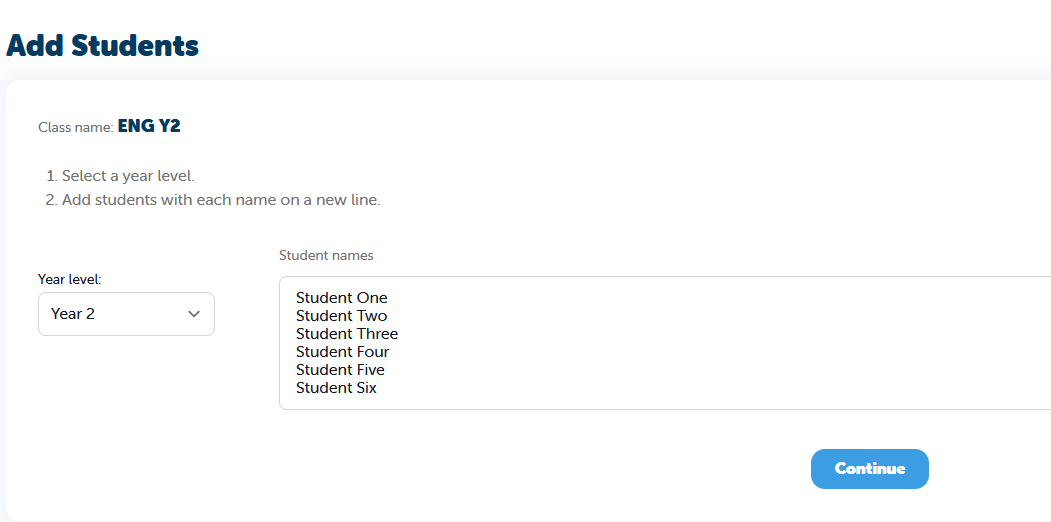
- Make sure student first and last names are entered correctly before proceeding (you can use this button to switch)

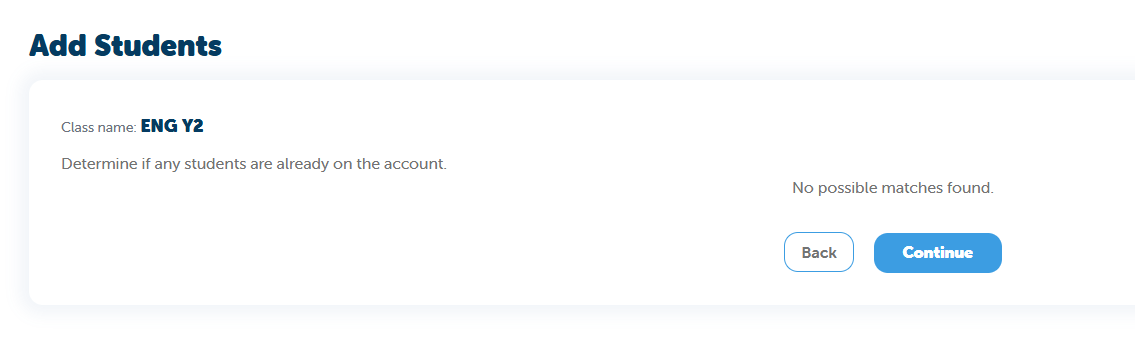
- Our system will automatically check for duplicate entries. If everything looks good, select Continue to proceed
- You can now add your new students to that class
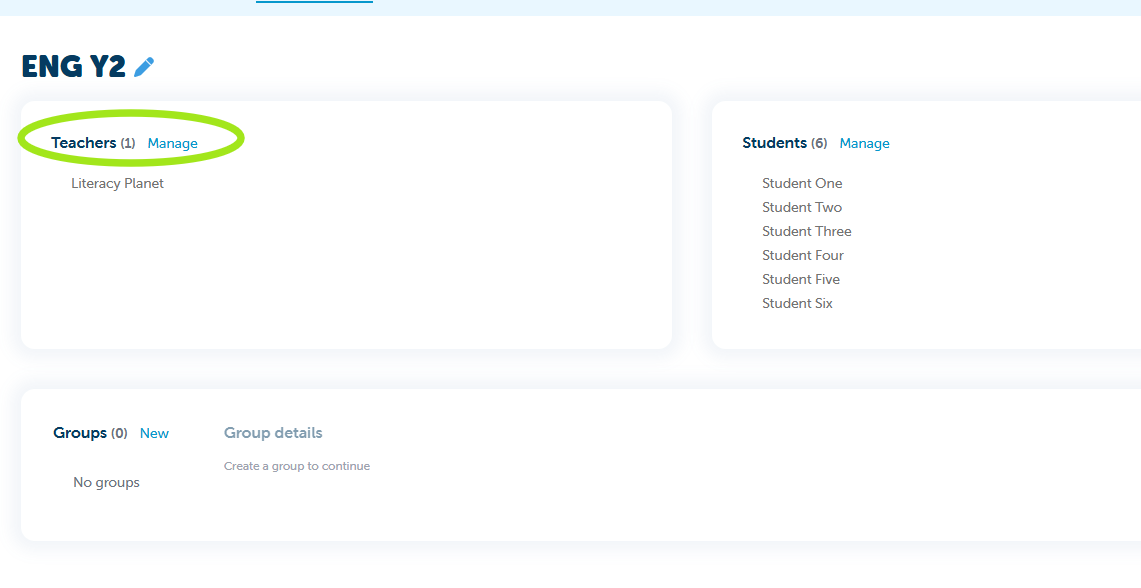
- Go to Manage Classes and select the Class
- Select Manage next to Teachers
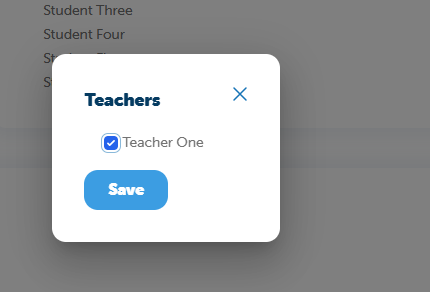
- Select your teacher from the list (If you, as the Admin, have been assigned to a class during setup, you can now remove yourself if needed)
Head back to Manage Classes to review everything:
- Confirm classes are set up correctly
- Ensure the right teachers have access
- Move students between classes if needed